
Creating your own baseball trading cards can be a fun hobby and a great way to showcase your favorite players or team. Whether you want to give them as gifts to other fans or keep them for your own collection, making custom cards is relatively simple with just a few basic supplies.
To start, you’ll need card stock paper. Look for thicker paper that is similar in weight and texture to real trading cards. Card stock comes in various sizes, but standard trading card dimensions are about 2.5 inches by 3.5 inches. You can find card stock at most craft and office supply stores. Be sure to get paper that is suitable for printing on, as some types are better than others.
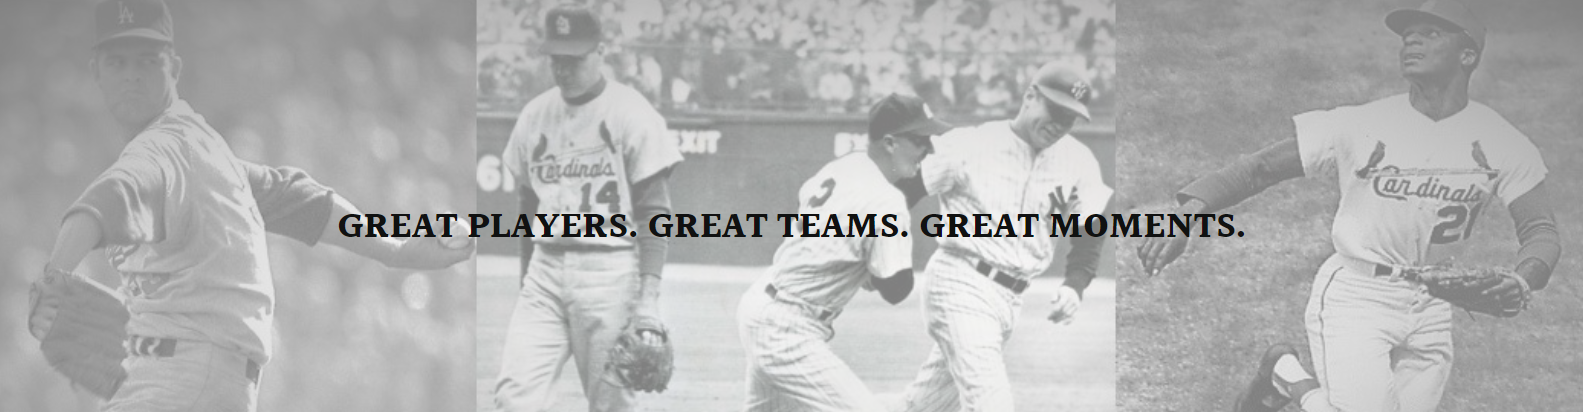
Next, you’ll need images of the players or teams you want to feature on your cards. High quality photos will produce the best results. Search online for images that have a clear resolution of at least 300 dpi. You can find photos on team or player websites, through stock image sites, or by taking your own pictures if you have access to the players. Make sure to only use images you have permission to replicate.
With your card stock and images ready, you can start designing the layout of each card. Decide how you want to arrange the photo, stats, and other details. Popular baseball card elements include the player’s name, team, position, batting stats, and a short bio. You can leave space for these details or create custom designs and graphics. Consider including branding or logos associated with the player or team as well.
Use a computer and graphic design software like Photoshop, GIMP, or Canva to assemble your card designs digitally. Position the image, add text boxes for stats, and format everything neatly within the card dimensions. Be consistent with fonts, colors, and layouts across all of your cards for a polished set. Save each design as a high resolution JPEG, PNG, or PDF file to print.

When your digital card designs are complete, it’s time to print them out on the card stock paper. An inkjet printer works well for this. Make test prints on scrap paper first to check sizing and quality. Print single cards or multiple designs per sheet depending on your printer capabilities. Allow adequate drying time for the ink.
Once printed, you can cut out the individual cards. A paper cutter or exacto knife works best for clean, straight edges. Take your time for neat cuts that won’t damage the paper fibers. Consider rounding the corners slightly like real cards.
To finish off your custom baseball cards, add any final touches. Protect the surfaces with clear tape, laminate the cards, or use card sleeves/toploaders. You can also punch holes in the corners and string them together on rings like a pack of real cards. Consider including stats sheets or information cards as well.
Display your finished baseball card collection in a binder, box, or showcase for safekeeping. Give them as gifts wrapped in plastic sleeves or cardboard packs. You can even trade duplicates with other collectors. Making your own custom cards allows you to highlight favorite players and teams in a fun, creative way. With some basic supplies and design skills, you can produce high quality cards worthy of any collection.
